How to Edit Your Logo For Screen Printing
Please see our recommended best practices below.
This is NOT REQUIRED for us to print your order!
If you can’t edit your artwork, we’ll gladly help convert your logos to vector files when you place your order.
Step 1
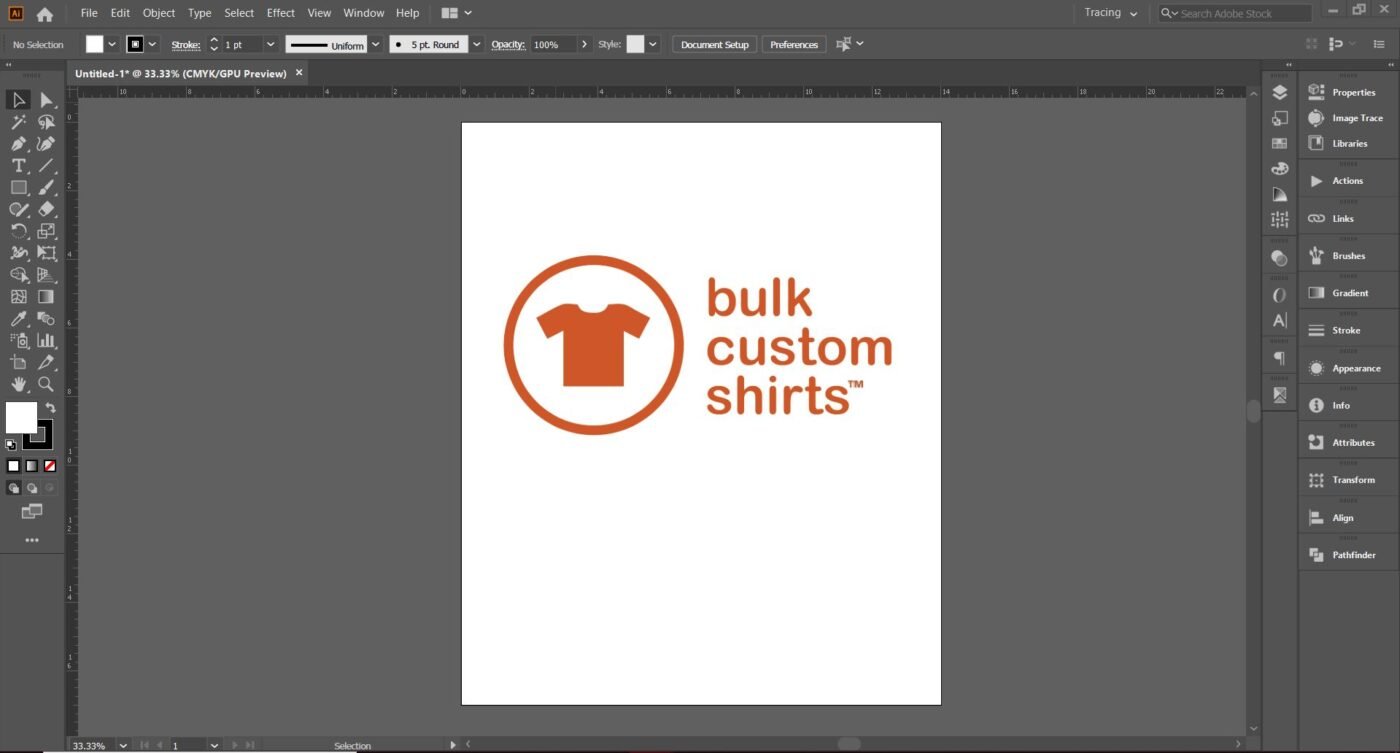
Create a blank 14″x17″ canvas in Adobe Illustrator & Load Your Artwork.
*Note: We will convert your logos to vector art for free with your custom apparel order, but the better quality logo you send us the better it’ll turn out.
Step 2
If your logo isn’t a vector file, you’ll have to recreate it in Illustrator or have Illustrator trace the image for you.
Note: To have Illustrator trace the image for you, simply select your logo layer and click “Image Trace” near the top of the screen.

Step 3
If you use text, please convert them to Outlines.
Note: Simply select your text layer, right click on the text and select “Create Outlines”. You can also use the short code Shift+Ctrl+O

Step 4
Size your logo for screen printing.
Note: Size your logo to fit the smallest shirt or garment in your order. We use the same print screens for all of your garments, which means the artwork size does not change depending on shirt size.
Email Us Your Design!
sales@BulkCustomShirts.com
Note: If you haven’t ordered yet, you can also upload your artwork when ordering on any of our product pages.